Peeter Joot's (OLD) Blog.

Math, physics, perl, and programming obscurity.

Archive for the ‘Home improvement’ Category

New kitchen closet organizer

Posted by peeterjoot on November 9, 2013

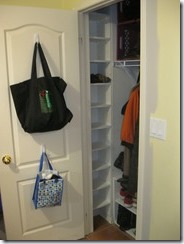
Our kitchen closet, by the backwards de-facto main entrance of our house, has been a horrible mess, not just because of Sofia’s seven (!) pairs of boots.  We’ve now built a little shoe rack that helps with that bit of the old chaos:

IMG_0981

This has an adjustable shelf, but will probably remain fixed.  Even cooler is a little “nook” shelf along an odd little crevasse in the closet:

IMG_0982

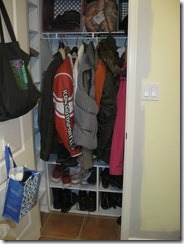
We’ve now all got a little shelf in there for gloves and hats.  These shelves are also all adjustable, but it may end up being a good distribution as is.  The view of the whole closet is now nice and tidy:


IMG_0983

The rack that’s original from the house builder above is starting to fall down, and we’ll need to build something to replace it before too long.

Posted in Home improvement | Tagged: | Leave a Comment »

McGyvering a BBQ drip tray from a microwave

Posted by peeterjoot on August 4, 2013

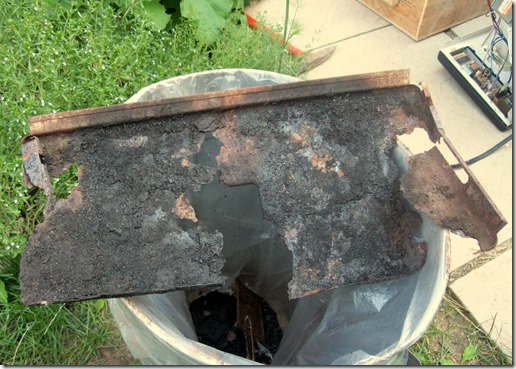
When I attempted to clean my BBQ drip tray today, it basically disintegrated when I removed it:

IMG_0936

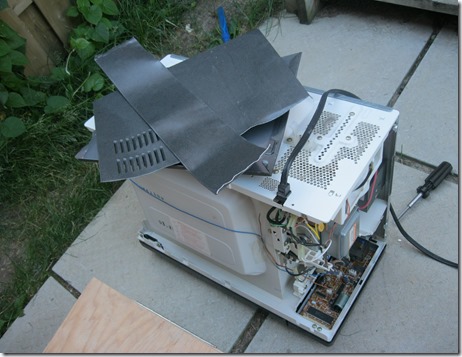
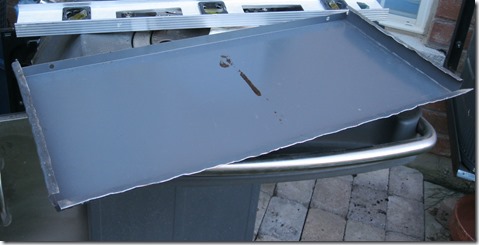
It was being held together by not much except luck.  My search for sheet metal in the garage wasn’t successful, but I found and scavenged the casing from the microwave that conveniently died this week.  After my attack, this is what was left


IMG_0935

I was careful to short the big giant capacitor, before leaving it exposed, but didn’t get any cool sparks.  From the casing, I needed a little bit more width than the top of the microwave’s width.  I cut a little lower than the bends at the corner, straightened my stock into a rectangle, and then, lacking a brake, bent things into the final configuration with an adjustable crescent wrench

IMG_0937

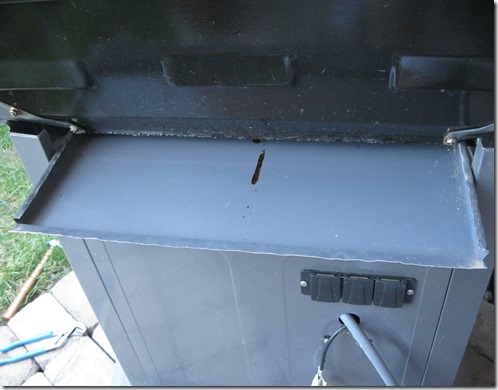
This worked out well, and slides into place nicely

IMG_0939

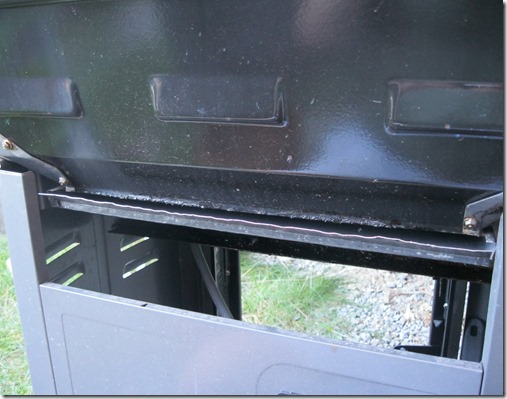
Inserted fully it looks like

IMG_0938

Posted in Home improvement | Tagged: , | Leave a Comment »

New faucet installation

Posted by peeterjoot on November 11, 2012

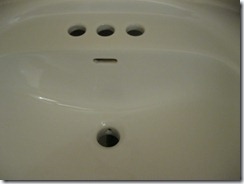
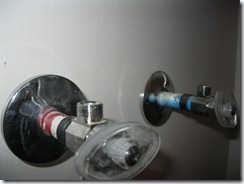
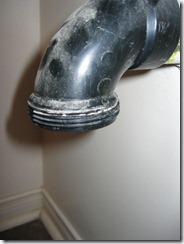
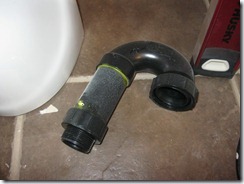
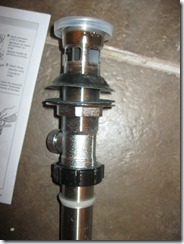
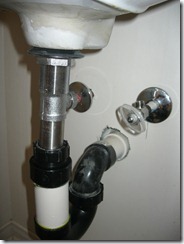
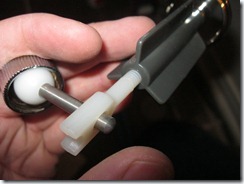
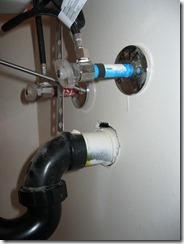
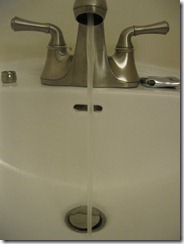
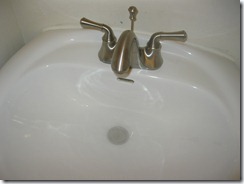
We’d started preparing the little main floor bathroom for a makeover, which got put on hold for a while.  With the aim of getting this finished, I got the old faucet ripped out last week, and was hoping to at least get through the new faucet and drain installation today, before returning to my optics homework

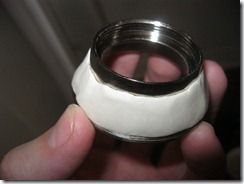
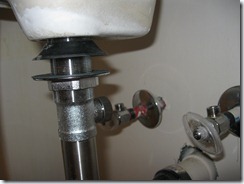
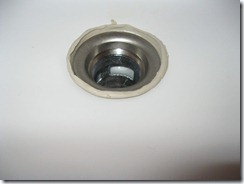
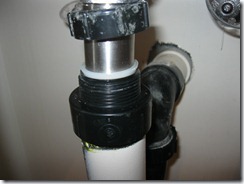
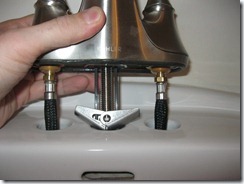
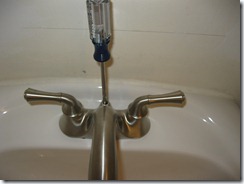
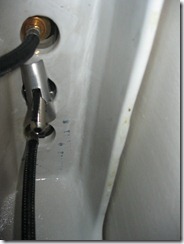
IMG_0714IMG_0713IMG_0716IMG_0715

Today was installation day.  The new faucet will match the new towel bar and toilet paper dispenser nicely.  First step was installing the new drain and sink plug


IMG_0712

The plug insert needs some plumbers putty, which I applied liberally

IMG_0721

Then the drain portion goes in from below

IMG_0725

I’d made the mistake of pressing the sink plug above in first then trying to tighten the drain below, but ended up with the lifter hole in the wrong orientation, and I disturbed too much of the plumbers putty trying to reorient it.  I took it all apart, reapplied the putty, then assembled, taking care to ensure the lifter hole was properly facing backwards.  By the time I was done and everything was all screwed in from below, lots of the putty had squeezed out

IMG_0729

but it wipes off easily.  Next in was the old trap

IMG_0730IMG_0731

Last time I did replaced a sink I had to completely replumb the trap and all the rest of the drain fittings, since the positioning was all off.  This time with just a faucet replacement, life was surprisingly easy.  Next in is the faucet from the top.  This model is nicely engineered, just plunk it in and then tighten with a screwdriver.  The clip in the bottom then snugs up nicely

IMG_0732IMG_0734IMG_0736

Next is the installation of the lifter, and the drain plug.  I thought it would go like this

IMG_0738

but it seems to like being lifted from the bottom better.  This plug has lots of adjustment potential, so if we have trouble with it pulling out, I’ll have to adjust it later and try with the pole through the hole instead of sitting under.  A little bit of teflon tape later for the hot and cold connections

IMG_0741

and I’m ready to leak test.  The installation instructions say to do this with the aerator off


IMG_0742

(not sure why, but I do).  The sink also holds water well

IMG_0745

Next steps … installation of the new cabinet, lights, painting, and then putting in the new toilet paper and hand towel holder.

Posted in Home improvement | Tagged: , , , | 3 Comments »

Oops. Fixing a drill hole in PEX (plastic) plumbing.

Posted by peeterjoot on November 3, 2012

I was putting up a laundry room (really closet) shelf.  I had some trouble finding the stud, but thought I had it in the end.  Guess what?  I didn’t    Drilling a pilot hole for the screw, the drill punched through so fast that I was into the space beyond.  Guess what else?  There was some plastic (PEX) piping behind that and it offered negligible resistance, so before I knew it I wasn’t just punching through air, but the hot water pipe that supplies the washing machine.  Damn.

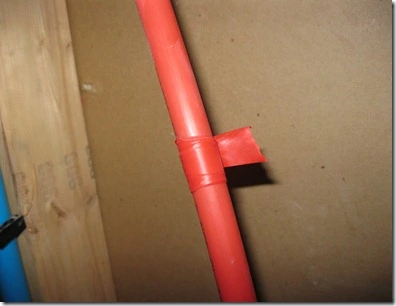
That tiny little hole produced a lot of water very fast.  I got the water main shut off fast and got the still producing pinhole sealed temporarily, first with my finger, then with some electrical tape, then was off to Home Depot for a something to patch with.  Here my temporary patch job, right as I was preparing for a more permanent fix

IMG_0699

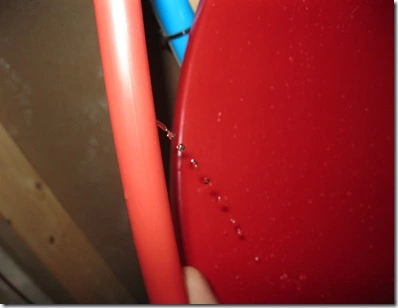
With a bucket in hand, I drained the pipe of the remaining water

IMG_0701

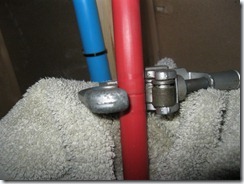
It doesn’t look like it’s coming out steadily, due to the fast capture of the camera, but it was still producing nicely.  Next was cutting the pipe.  I used a plain old copper cutter, since I figured it would do a tiny job, and this worked out nicely

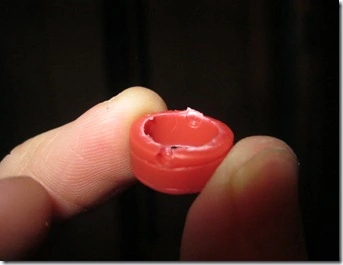
IMG_0702IMG_0703IMG_0704

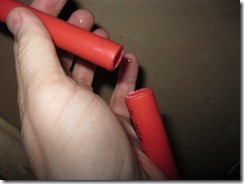
I’d tried to cut right at the position of the hole, but ended up missing by about a 1/4 inch, so took off one more little bit

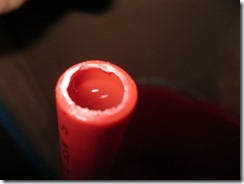
IMG_0708

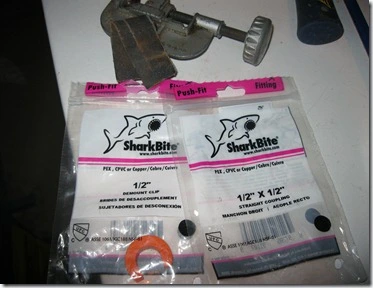
You can actually see that I almost managed to go through the back end of the pipe.  It really was like going through air.  Through drywall, then bam, water going everywhere!  After being advised initially to get a special tape to “fix” this, I opted to get a mechanical coupler instead.  I’d measured the pipe before I left and had trouble finding something.  It turns out that the 5/8” that I measured is what they call 1/2” pipe, so was able to use a 1/2 coupler


IMG_0710

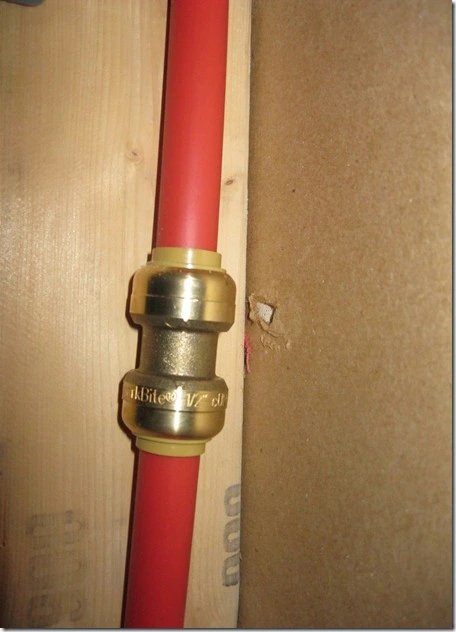
This turns out to be about the easiest thing you could imagine to install, just basically requiring pushing the two ends in firmly

IMG_0709

I’ve got a little $2 decoupler, should I need to remove the coupler for any reason (was advised to buy this just in case).  Hopefully, I’ll never need it for anything.

Posted in Home improvement | 2 Comments »

Basement electrical now done!

Posted by peeterjoot on July 18, 2010

(a march post from my to-be-deleted entropy blog)

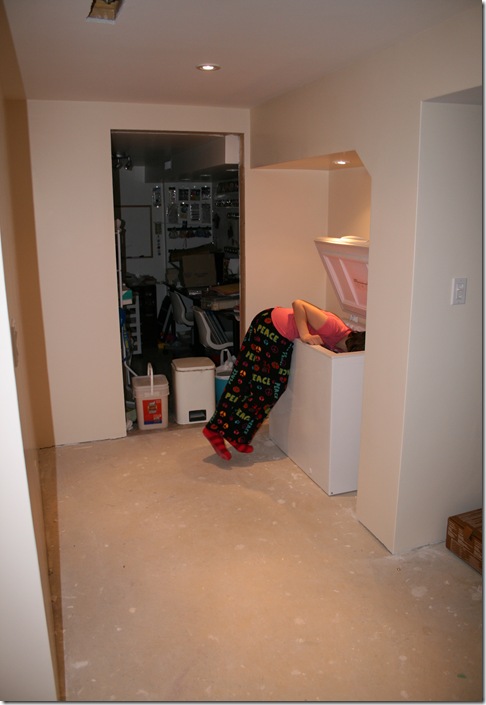
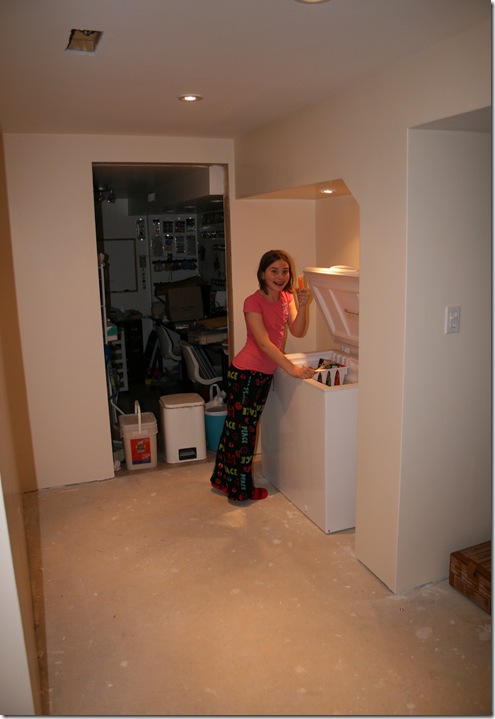
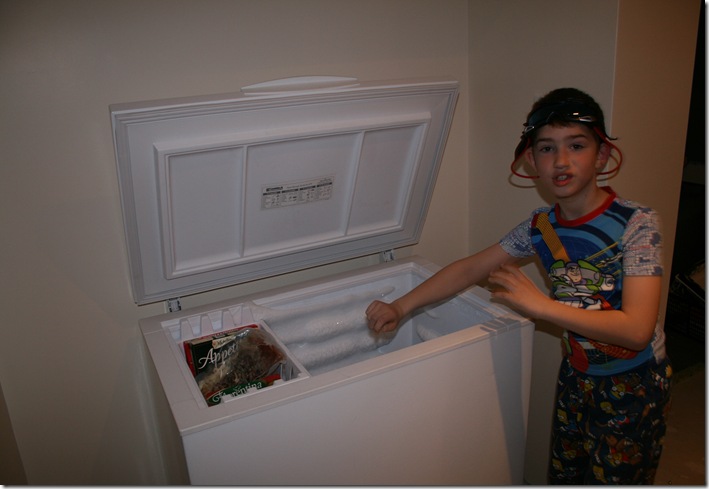
I installed the rest of the ceiling lights today, and wired up the switches, and ran a new line back to the panel and installed the breaker for it.  This almost wraps up the basement work that I’d left partially completed for so long.  I even put the freezer into its nook, and the kids delighted in finding out how accessible the freezies now are.

IMG_2488

IMG_2490

IMG_2494

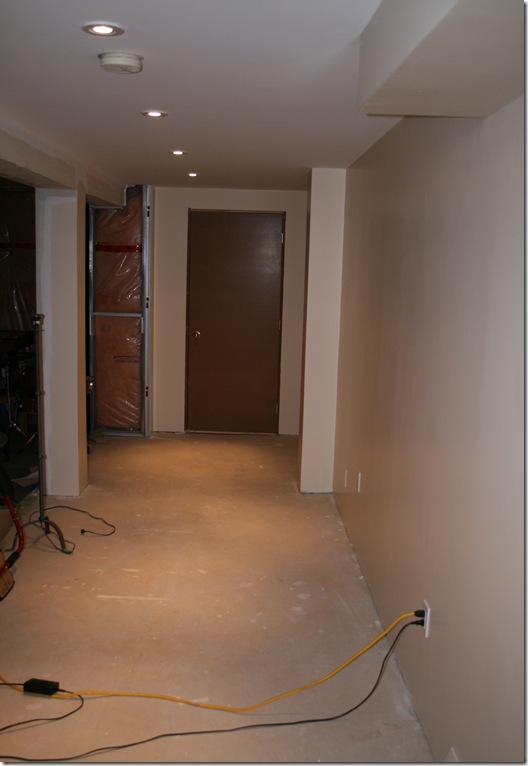
Rotating to the left from the bottom of the stairs leads to the other half of the now finished corridor, which now looks pretty spiffy (except for the floor).

IMG_2493

Posted in Home improvement | 2 Comments »

Basement electrical progress.

Posted by peeterjoot on July 18, 2010

(a march post from my to-be-deleted entropy blog)

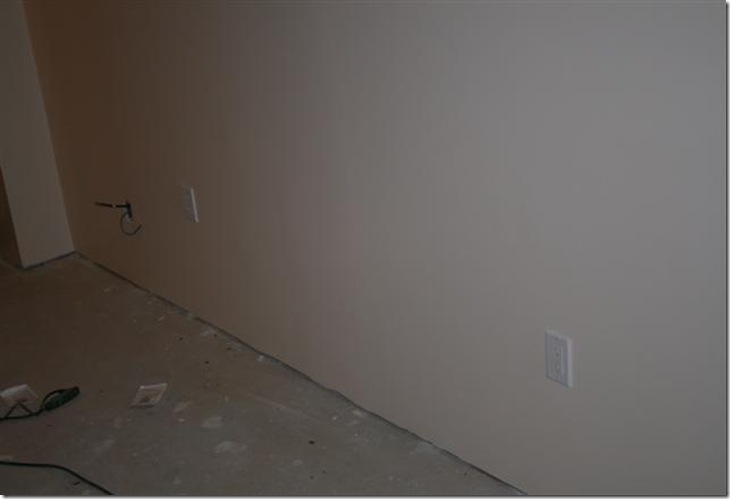
Today I got the outlets in the basement hooked up, so I can finally put away the extension cord that I’ve got the lamp on.  This was an easy job since I had the breaker installed already, and it was just hooking up the outlets themselves

IMG_2479 (Small)

There’s a coax and cat5 cable in the wall there too, and I’ll have to hook that up too, or perhaps just put a cover plate on it.

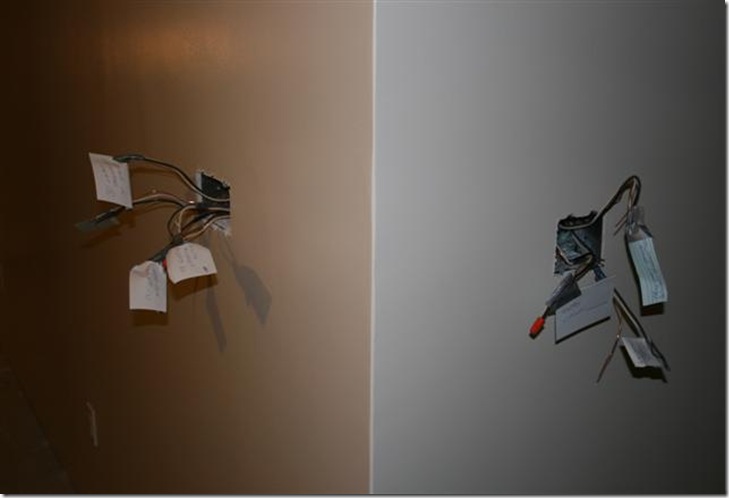
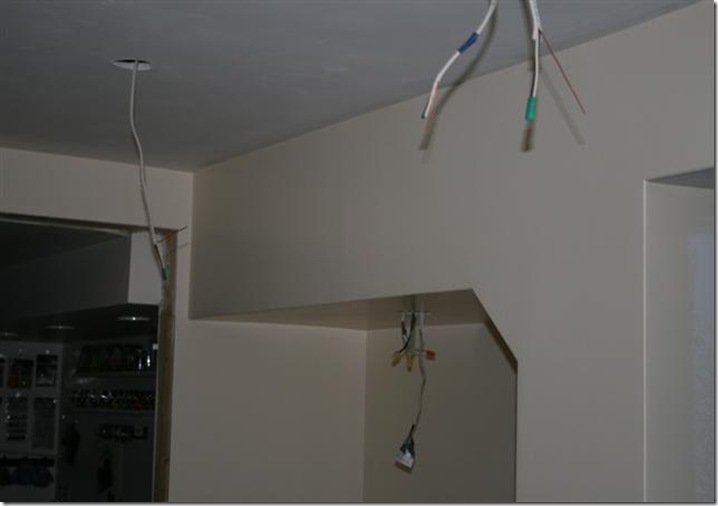
I’ve also figured out what all my rough in wiring for the lights was once again.  It’s been a long time since I did that rough in work, so it was a bit of a detective job, but wasn’t too hard.

IMG_2477 (Small) 

IMG_2476 (Small)


IMG_2478 (Small)

This time I labeled things like I should have originally.  The ceiling lights in the corridor here are all pretty simple.  Four in series, and I’ve figured out what wire goes to them as supply from the switch.  I’ve got two rough in wires to the dark part of the basement on the left that I had originally intended to put on dimmers.  I don’t know yet what I’ll end up doing with those, if anything.

I also got two of the ceiling lights hooked up.  This is the one for the nook, before I stuffed it all back in the hole.  Notice the white to black connection.  This is because of the Ontario electrical code convention (perhaps a convention elsewhere too), where “white is hot at the switch”.  The idea must be, that when the light switch is on, the black that comes back to the light, is still the “hot”.

IMG_2480 (Small)

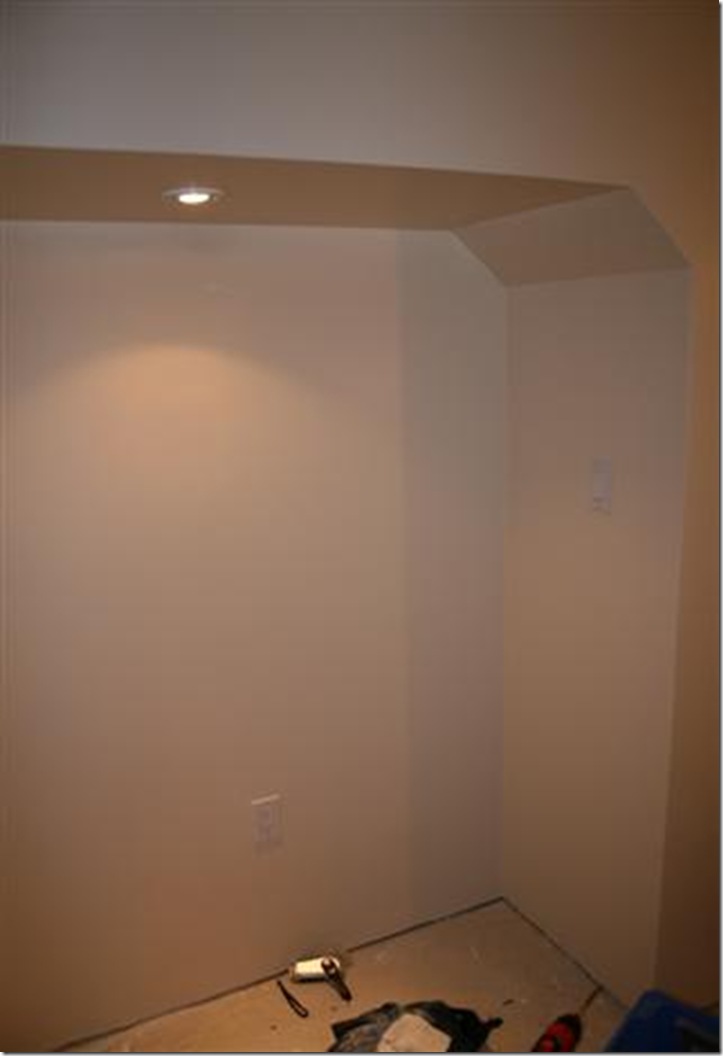
Once the nook light and outlet and switch were all hooked up, this is what it looked like.  Once I’ve cleaned up, I’ll put the freezer in there like we originally intended.


IMG_2481 (Small)

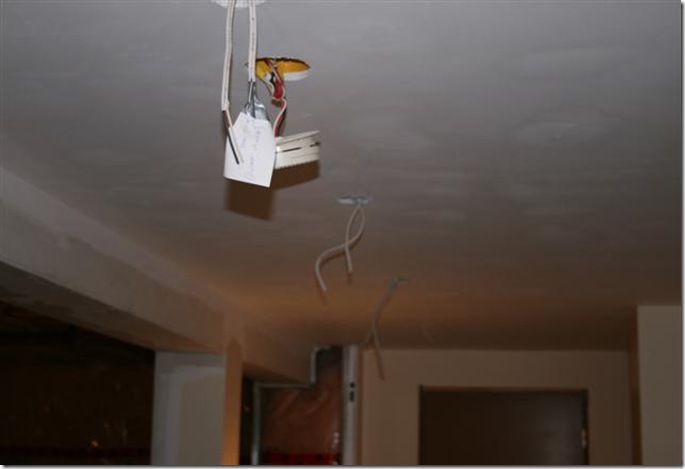
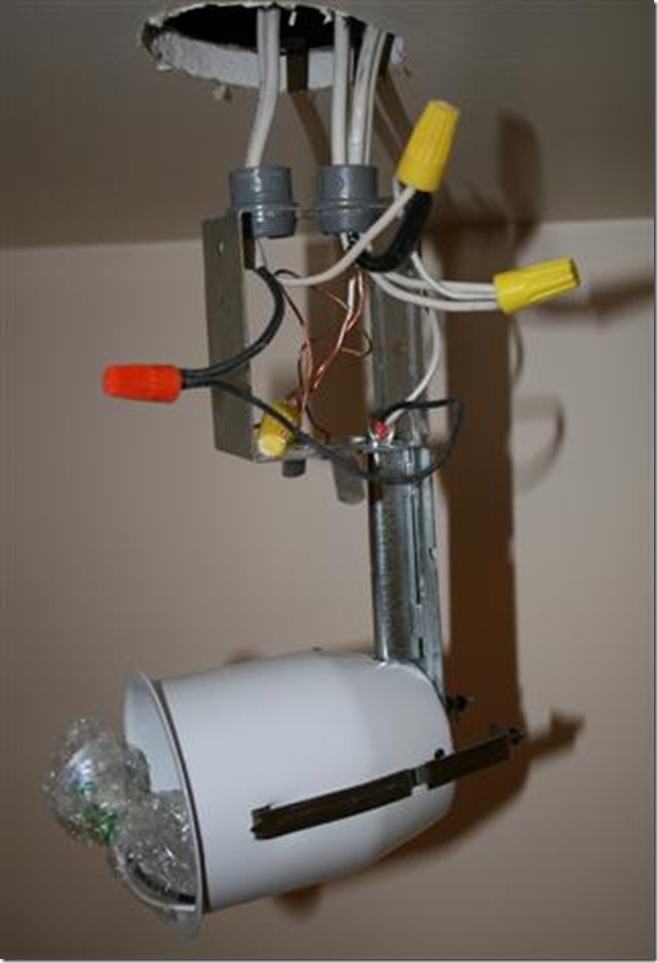
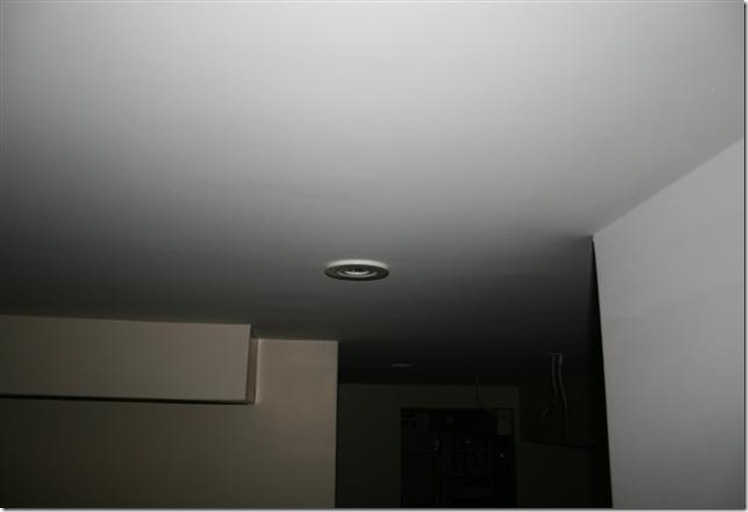
The one other light that I hooked up today is the one on the stairwell switch, that you see as soon as you come down the stairs.  What we used to see coming down the stairs was an ugly yellow electrical box nailed to the ceiling, with a simple light screwed directly into it.  Recently it’s been even worse looking since I had the same box suspended in the air from the wires as a temporary light while I got the ceiling in place.  Now that the ceiling is done (and painted even), this nice little light recessed fixture replaces the old temporary construction-look.

IMG_2486 (Small)

Posted in Home improvement | Leave a Comment »

Fixing a loose banister

Posted by peeterjoot on June 6, 2010


Over the years the kids and I have over aggressively used the banister as we charge up and down the stairs.  It’s been loose for a while but it didn’t really occur to me that it was fixable.  Now, we’ve just sold the house, and the buyer’s identified this as a defect that they wanted fixed as part of the closing conditions.

It turns out that it is fixable.  The very knowledgeable guy who works in our neighborhood home depot in doors and windows department told me how to do this.  Basically, take it all apart, and then put it all back together.

This requires:

  • First taking out the underside screws that hold the wood rail onto the metal underside.
  • Now you can unscrew the metal rail from the spindles.
  • Pull the loose spindles
  • Clean the old glue off the floor and the spindles.
  • Glue them back in.
  • Screw the metal rail back onto the top of the spindles.
  • Screw the wood rail back on.

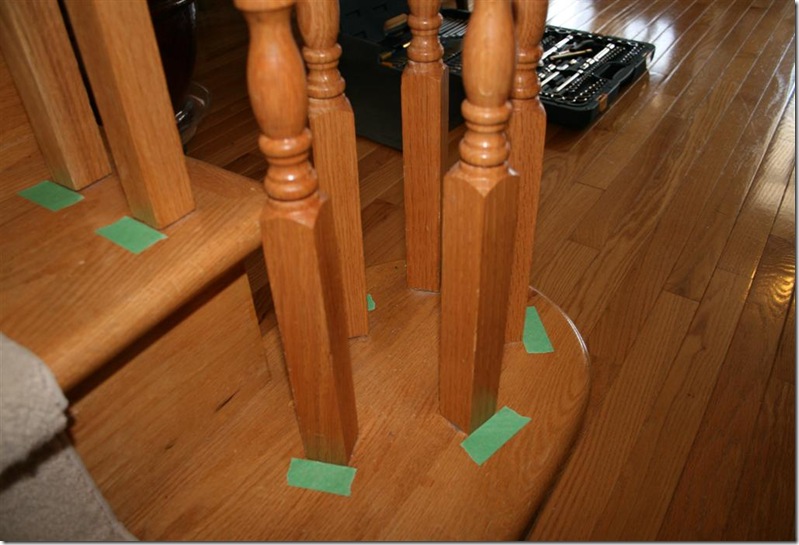
This is a lot easier to see in pictures.  The end result of the wild kids and dads in the house over the years resulted in the spindles being pulled from the floor like so:
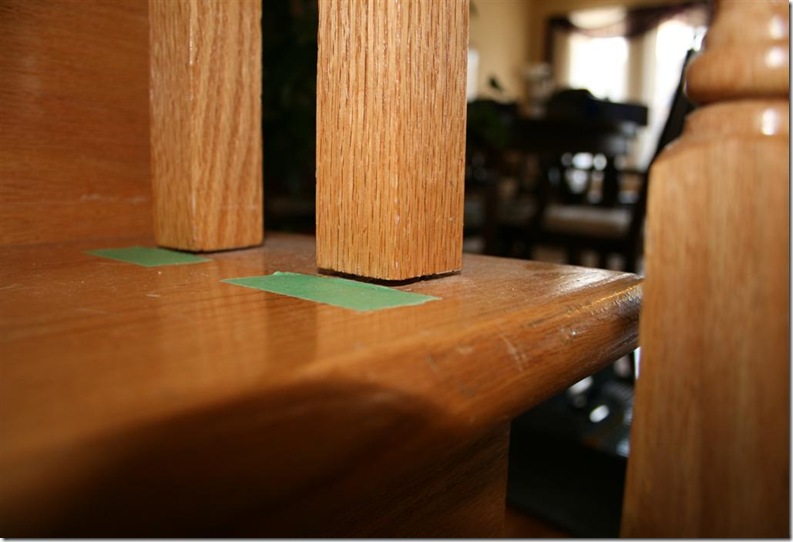
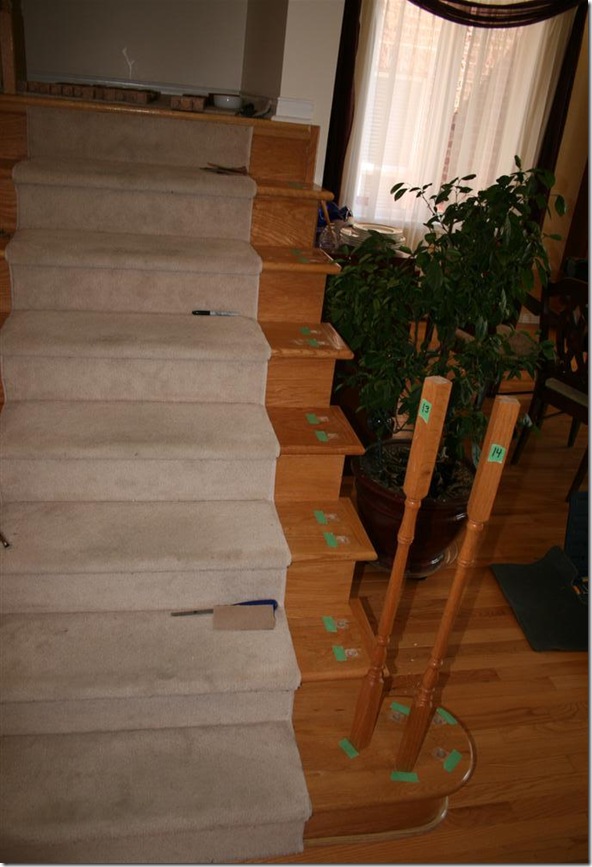
IMG_2562 (Large)

Are you wondering why there is tape on the floor?  I put that there like registration marks in printing.  That way the spindles end up aligned the same way they were originally.  I did these tape markers all the way up and down the stairs, and it probably mattered most right down at the base (where the builder was a cheapskate and didn’t put a newel post that probably would have made the banister properly stable).
IMG_2561 (Large)

I also marked each post with a number so that the sequence of the posts was retained.  You can see that in this picture, where I’d taken the wood railing off:
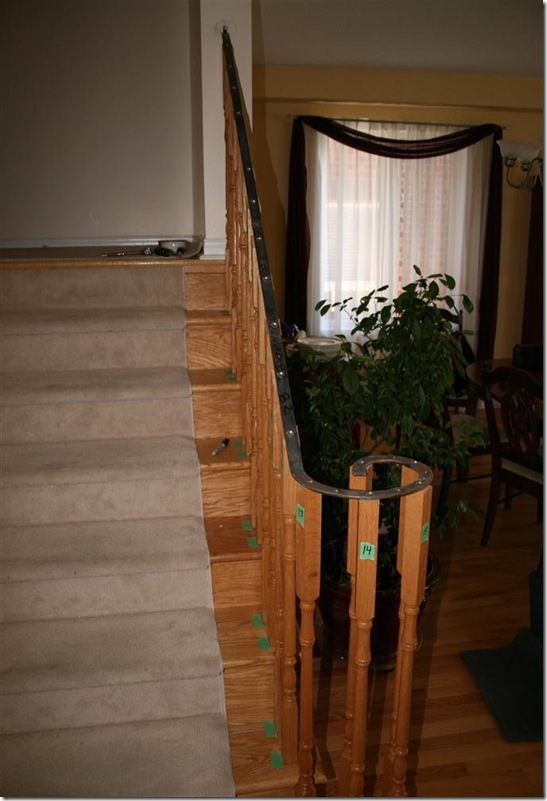
IMG_2560 (Large)

Once the metal was removed, you can really see how free the spindles were in their holes:
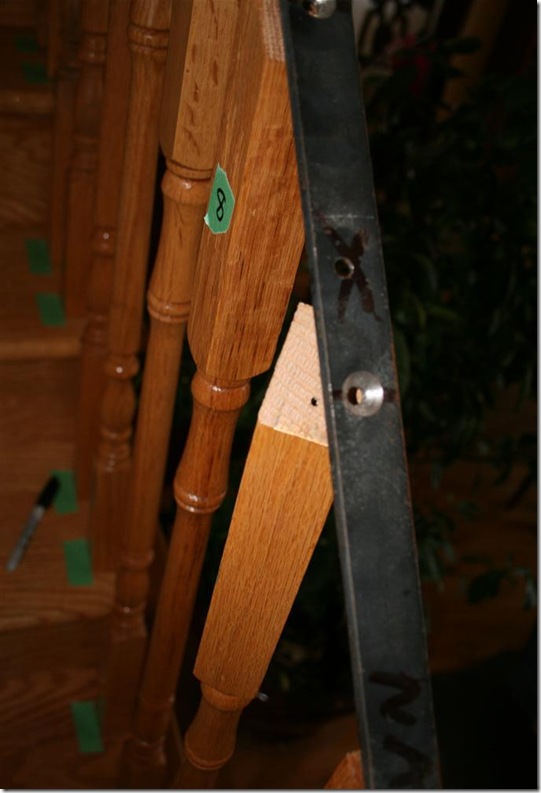
IMG_2565 (Large)

With very little effort I could rotate these in place once the screw was removed.  Next step is removing the metal rail completely, and setting it aside with the wood rail
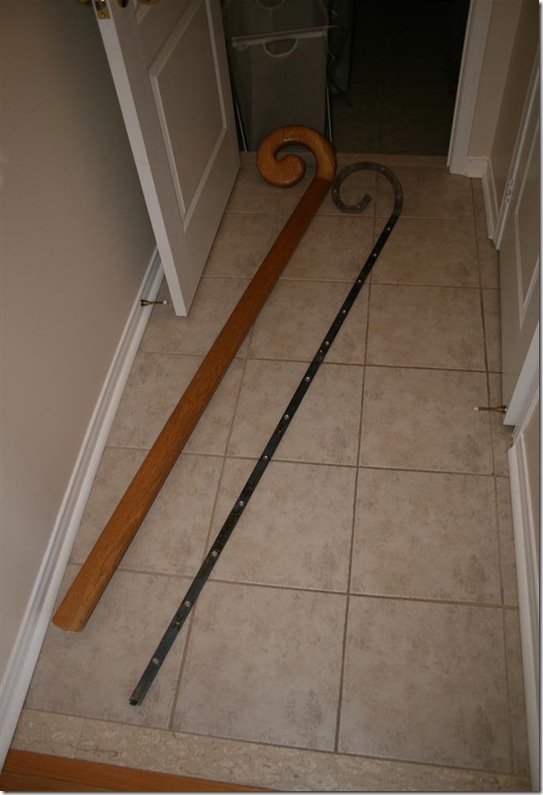
IMG_2566 (Large)

Now that the rails are both off, the posts can be pulled, and it’s time to clean up the old glue residue.  I was actually surprised how little glue the original installer appeared to use, and cleaning it off the floor wasn’t too hard.  I used a chisel to lightly scrap it off without damaging the surrounding stair finish (since my initial attempt using sandpaper looked like it was going to wreck the finish)
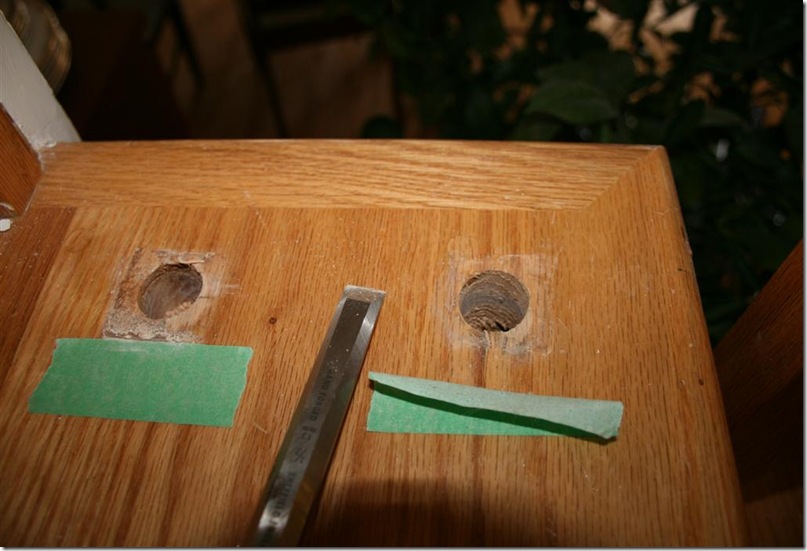
IMG_2569 (Large)

I ended up glad that I’d marked the posts numerically, since it would have been easy to mix them up, even with orderly placement.  When you look at a finished staircase banister, you don’t even notice the fact that each one is a different length
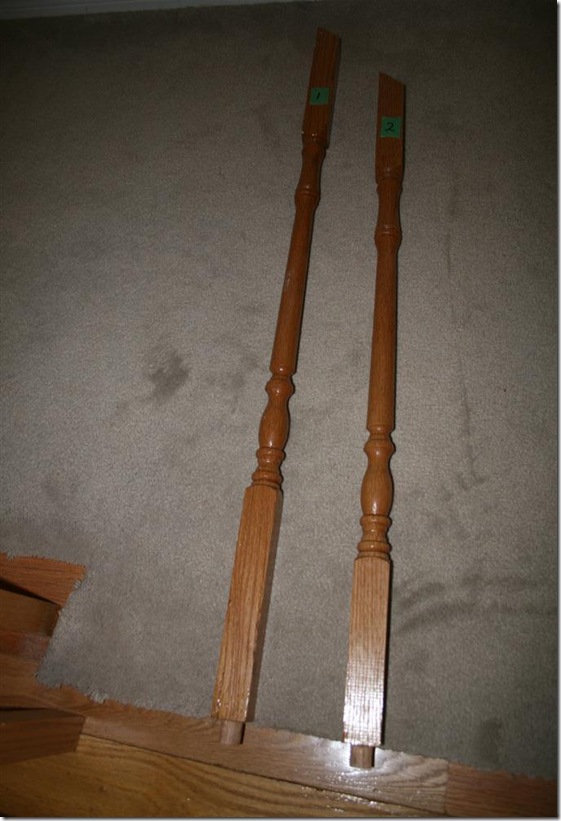
IMG_2571 (Large)

The glue also has to be cleaned off of the spindle bases, once they are pulled out.  You can see how it wasn’t wiped off well by the original installer
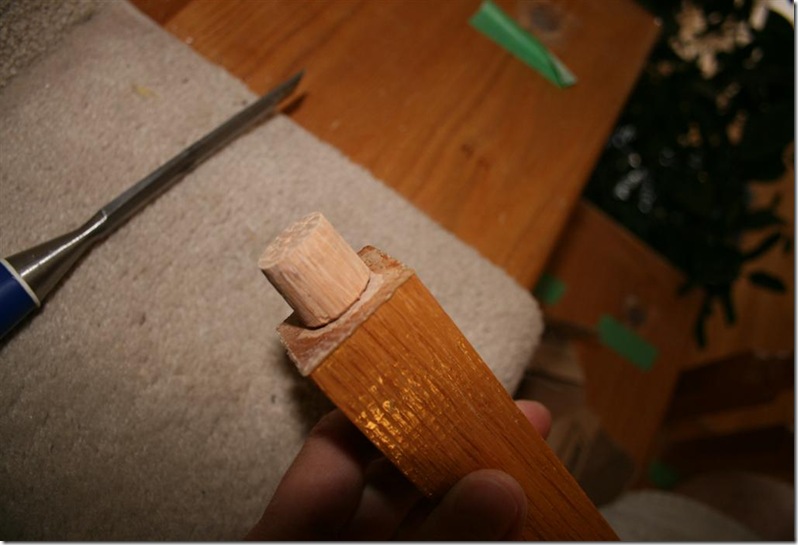
 

IMG_2572 (Large) 

A little chiselling and sandpapering handles that nicely
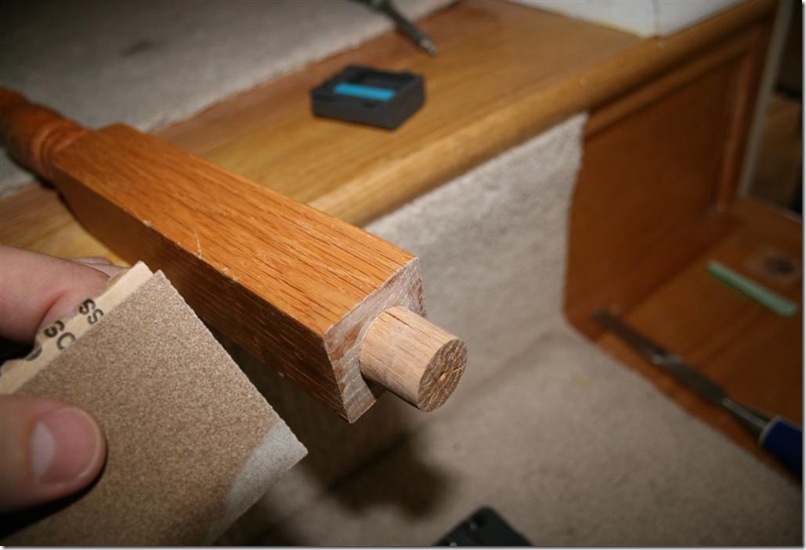
IMG_2573 (Large)

Again I was really surprised how little glue the original installer used.  I hardly had to take any off of all the little knobs on the base of each spindle.

I ended up pulling out all but two of the spindles, since two at the base were in firmly enough that I didn’t think I needed to touch them.
IMG_2575 (Large)

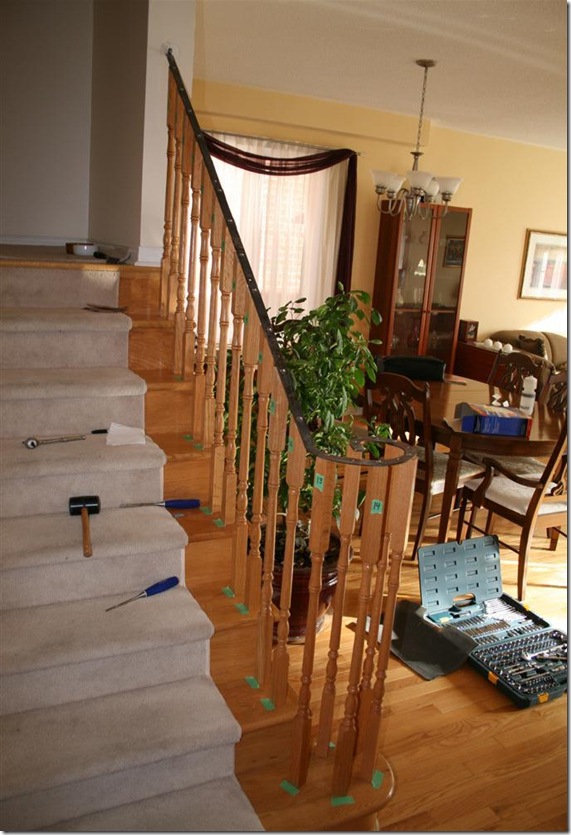
That may have been a mistake, since that part of the banister is still the loosest part of the railing.  I think that what really ought to have been on the staircase is a newel post, and not the wimpy set of curved spindles that were used.  I wasn’t about to try to retrofit one in though, since that probably would have meant completely redoing the staircase.  With everything removed, it was time for some carpenters glue on the spindle begs and bottom, put em back in the holes, align them, and wipe up the excess glue after squishing them down into their seats nicely.  That looked like it did near the beginning:
IMG_2576 (Large)

Next was putting the wood back on.  I actually had a fair amount of trouble with this part, and it didn’t align properly anymore.  I loosened up the big screw at the top of the stairs that held the metal rail to the wall, and was able to get it back on in the end, but I had to kind of lever it on.  The end result is something that doesn’t look any different than the original from a distance
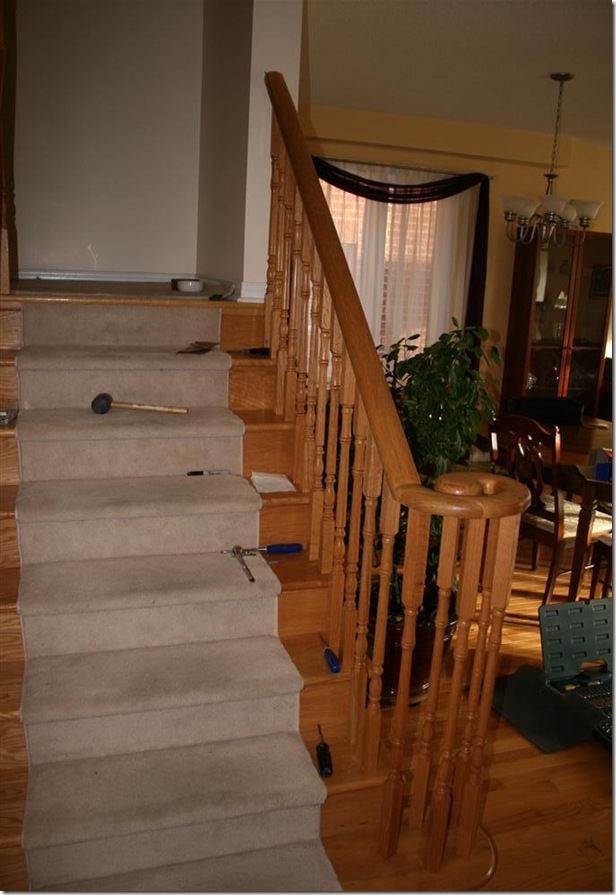
IMG_2577 (Large)

If you look closely now, the gaps that used to be at the base of each post are now gone, and the wall near the top is a bit mucked up (needs a small touch up plastering and paint touch up that I’m not going to bother with).  But it is a whole lot stronger feeling, and the new owner should be satisfied with the result. I’m assuming that they only wanted that one repaired.  The top part of the staircase banister now feels looser in comparison, but I didn’t used to notice that one, and don’t feel like tackling that project unless forced.  I’d like that to be a SOP for the new owner.
Posted in Home improvement | 1 Comment »